
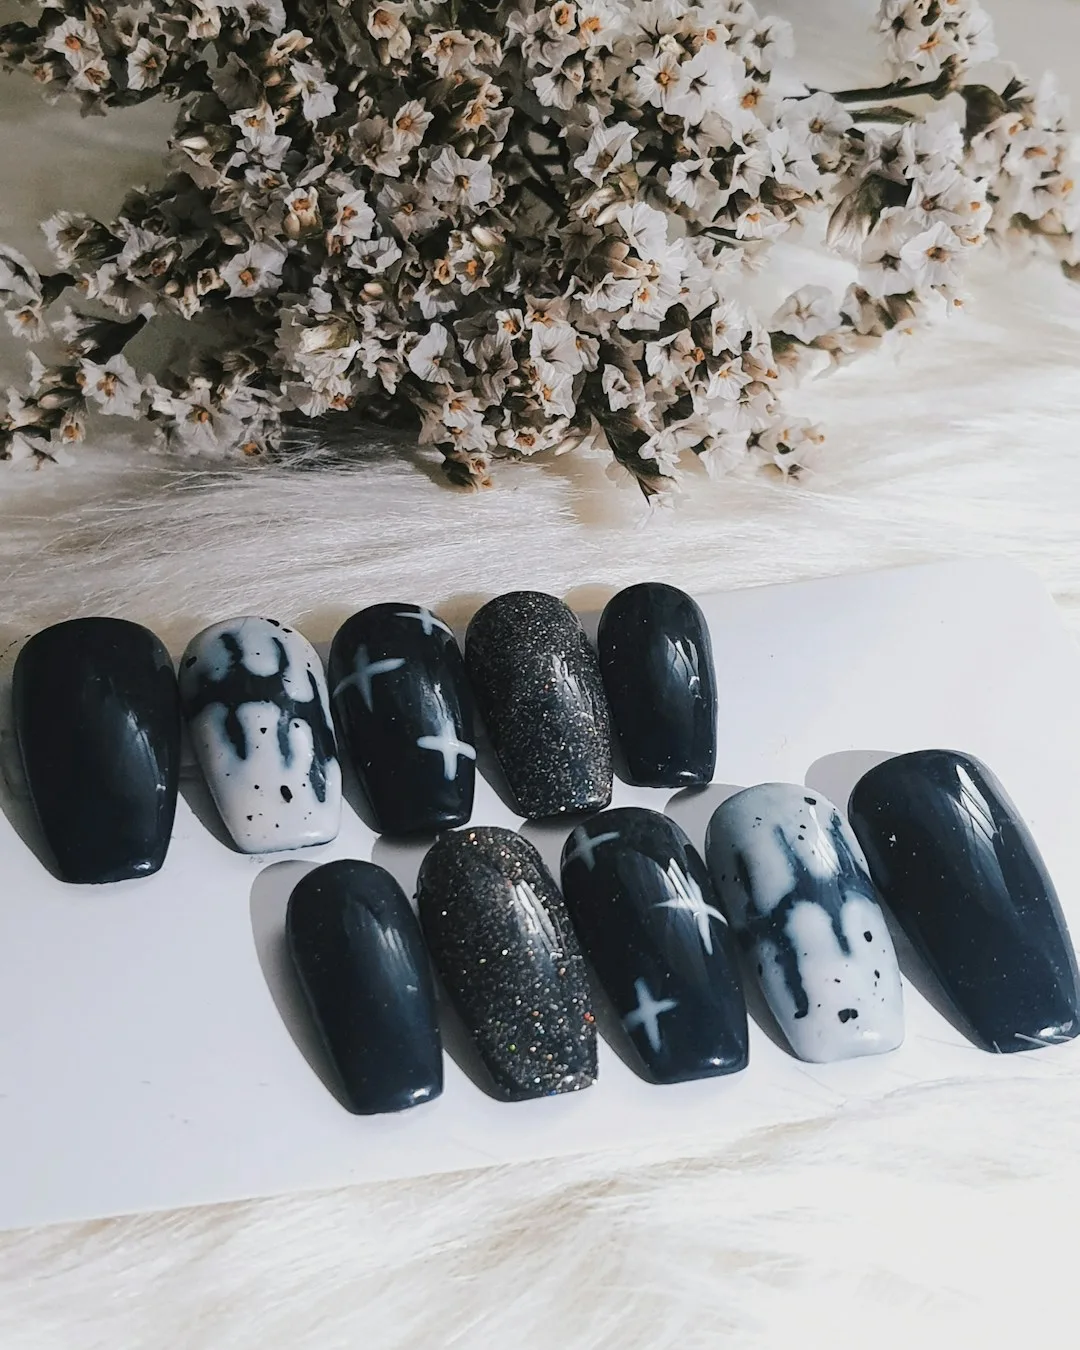
Spider web nail art lives or dies on the order of operations. A dozen Halloween manicures can share the same sketch of radiating lines and connecting arcs, but the ones that read as crisp webs instead of ink blots come down to brush choice, dry time, and how much pressure touches the plate at each stage.
Start with a fully cured or fully dry base coat. In gel, cure the color layer for the full manufacturer time, typically 30 to 60 seconds under an LED lamp, before any linework touches it. On regular lacquer, give the base at least five minutes of open air before adding detail. A tacky surface pulls pigment sideways as the liner brush passes, and that drag turns a clean web into a gray smudge.
Draw the webs with a detail liner brush, sized 000 or 5/0, loaded with black polish thinned by one drop of polish thinner or acetone so it releases in a continuous thread instead of a blob. Hold the brush nearly flat against the nail, almost parallel to the surface, and let the bristle tip do the work. A steep, pen-like angle digs the bristle into the polish and produces thick, wavering lines.
For the classic accent web in Byrdie's roundup of spider nail art ideas, the build happens in two passes. First, sponge a black-to-white ombre onto the tip of the nail and let it dry fully, five to ten minutes depending on polish thickness. Second, use the thinned liner to draw four to six straight lines radiating from a single point near the cuticle, then connect them with short curved strokes that widen toward the tip, following the spiral pattern of a real web.
Negative space webs, like the French tip version in the same roundup, reverse that build order. Skip the sponge step. Leave the nail bed bare or tinted with a sheer nude. Draw the web directly on unpolished nail with the thinned black liner, let it set for two to three minutes, then seal the whole nail with a high-gloss top coat. The gloss finish is what gives the look its lip-gloss sheen; a matte top coat over the same linework flattens the contrast and the web reads duller.
Three-dimensional spiders, like the gem-studded set Megan Thee Stallion wore, use builder gel instead of polish. Place a small dome of clear gel for the body, cure it for 30 seconds, then add eight thin gel legs one at a time with a dotting tool, curing each leg in short 10 to 15 second bursts so it holds its shape instead of slumping flat before the light sets it. Rhinestones or small gems get pressed into the body dome while that layer is still uncured and tacky, which is what locks them in place without a separate glue step.
Chrome powder webs, seen in the silver pantyhose-inspired set and the red Spider-Man-style look, depend on timing the base layer. Cure a black or clear gel top coat until it's still slightly tacky rather than fully hardened, then press chrome powder into the surface with a silicone applicator or foam tip. Brush away the excess with a clean, dry nail brush, then seal with a non-wiping top coat before adding any liner webs on top, since chrome powder scuffs if a brush drags across it unsealed.
Nail artist Brittney Ellen's glow-in-the-dark version swaps standard white polish for a glow pigment polish in the web, ghost, and mummy details, applied with the same thinned-liner technique as the black webs. The glow pigment needs direct light exposure, sunlight or a UV lamp, for several minutes before it charges enough to show once the lights go off, so the design is built the same way regardless of whether it's meant to read in daylight or dark.
The failure points are consistent across all of these variations. Heavy brush pressure spreads a single line into three. Working on a surface that hasn't finished curing or drying pulls pigment into the surrounding polish. And skipping the top coat step changes how reflective the final web looks, which is often the difference between a design that photographs as intricate lace and one that reads as a smear of gray at arm's length.
